During final inspection of your rock solid vanity at our facility, the doors and drawers are adjusted to ensure proper alignment and closure. After shipping and installation, the doors and drawers may need to be realigned. Here are the steps to adjust your doors and drawers.
NOTE: We recommend having a skilled trades professional complete the installation.
DOOR HINGES
The door hinges are adjusted using cam screws. These screws have a 1/2 turn of adjustment. Please do not turn past the adjustment range.
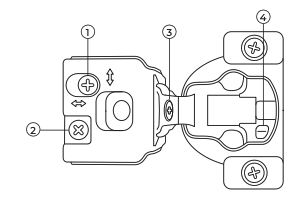
(1) ADJUSTING THE DOOR HEIGHT
The door height is adjusted by turning a cam screw. The top and bottom hinge should be adjusted evenly.
(2) ADJUSTING THE GAP BETWEEN THE DOOR AND THE FACE FRAME
The gap is adjusted by turning a cam screw. Adjust the cam screw in such a way as to minimize the amount of “bouncing” when tapping a closed door on the outer corner with your finger.
(3) ADJUSTING THE SPACE BETWEEN THE DOORS
Adjust the space between the doors by turning the cam screw that is located on the forward-facing edge of the hinge when open.
(4) ADJUSTING THE SOFT CLOSE MECHANISM
To adjust the soft-close feature, gently slide the tab (vertically) away from the center of the hinge until it clicks.
LEVELING THE DRAWER FACES
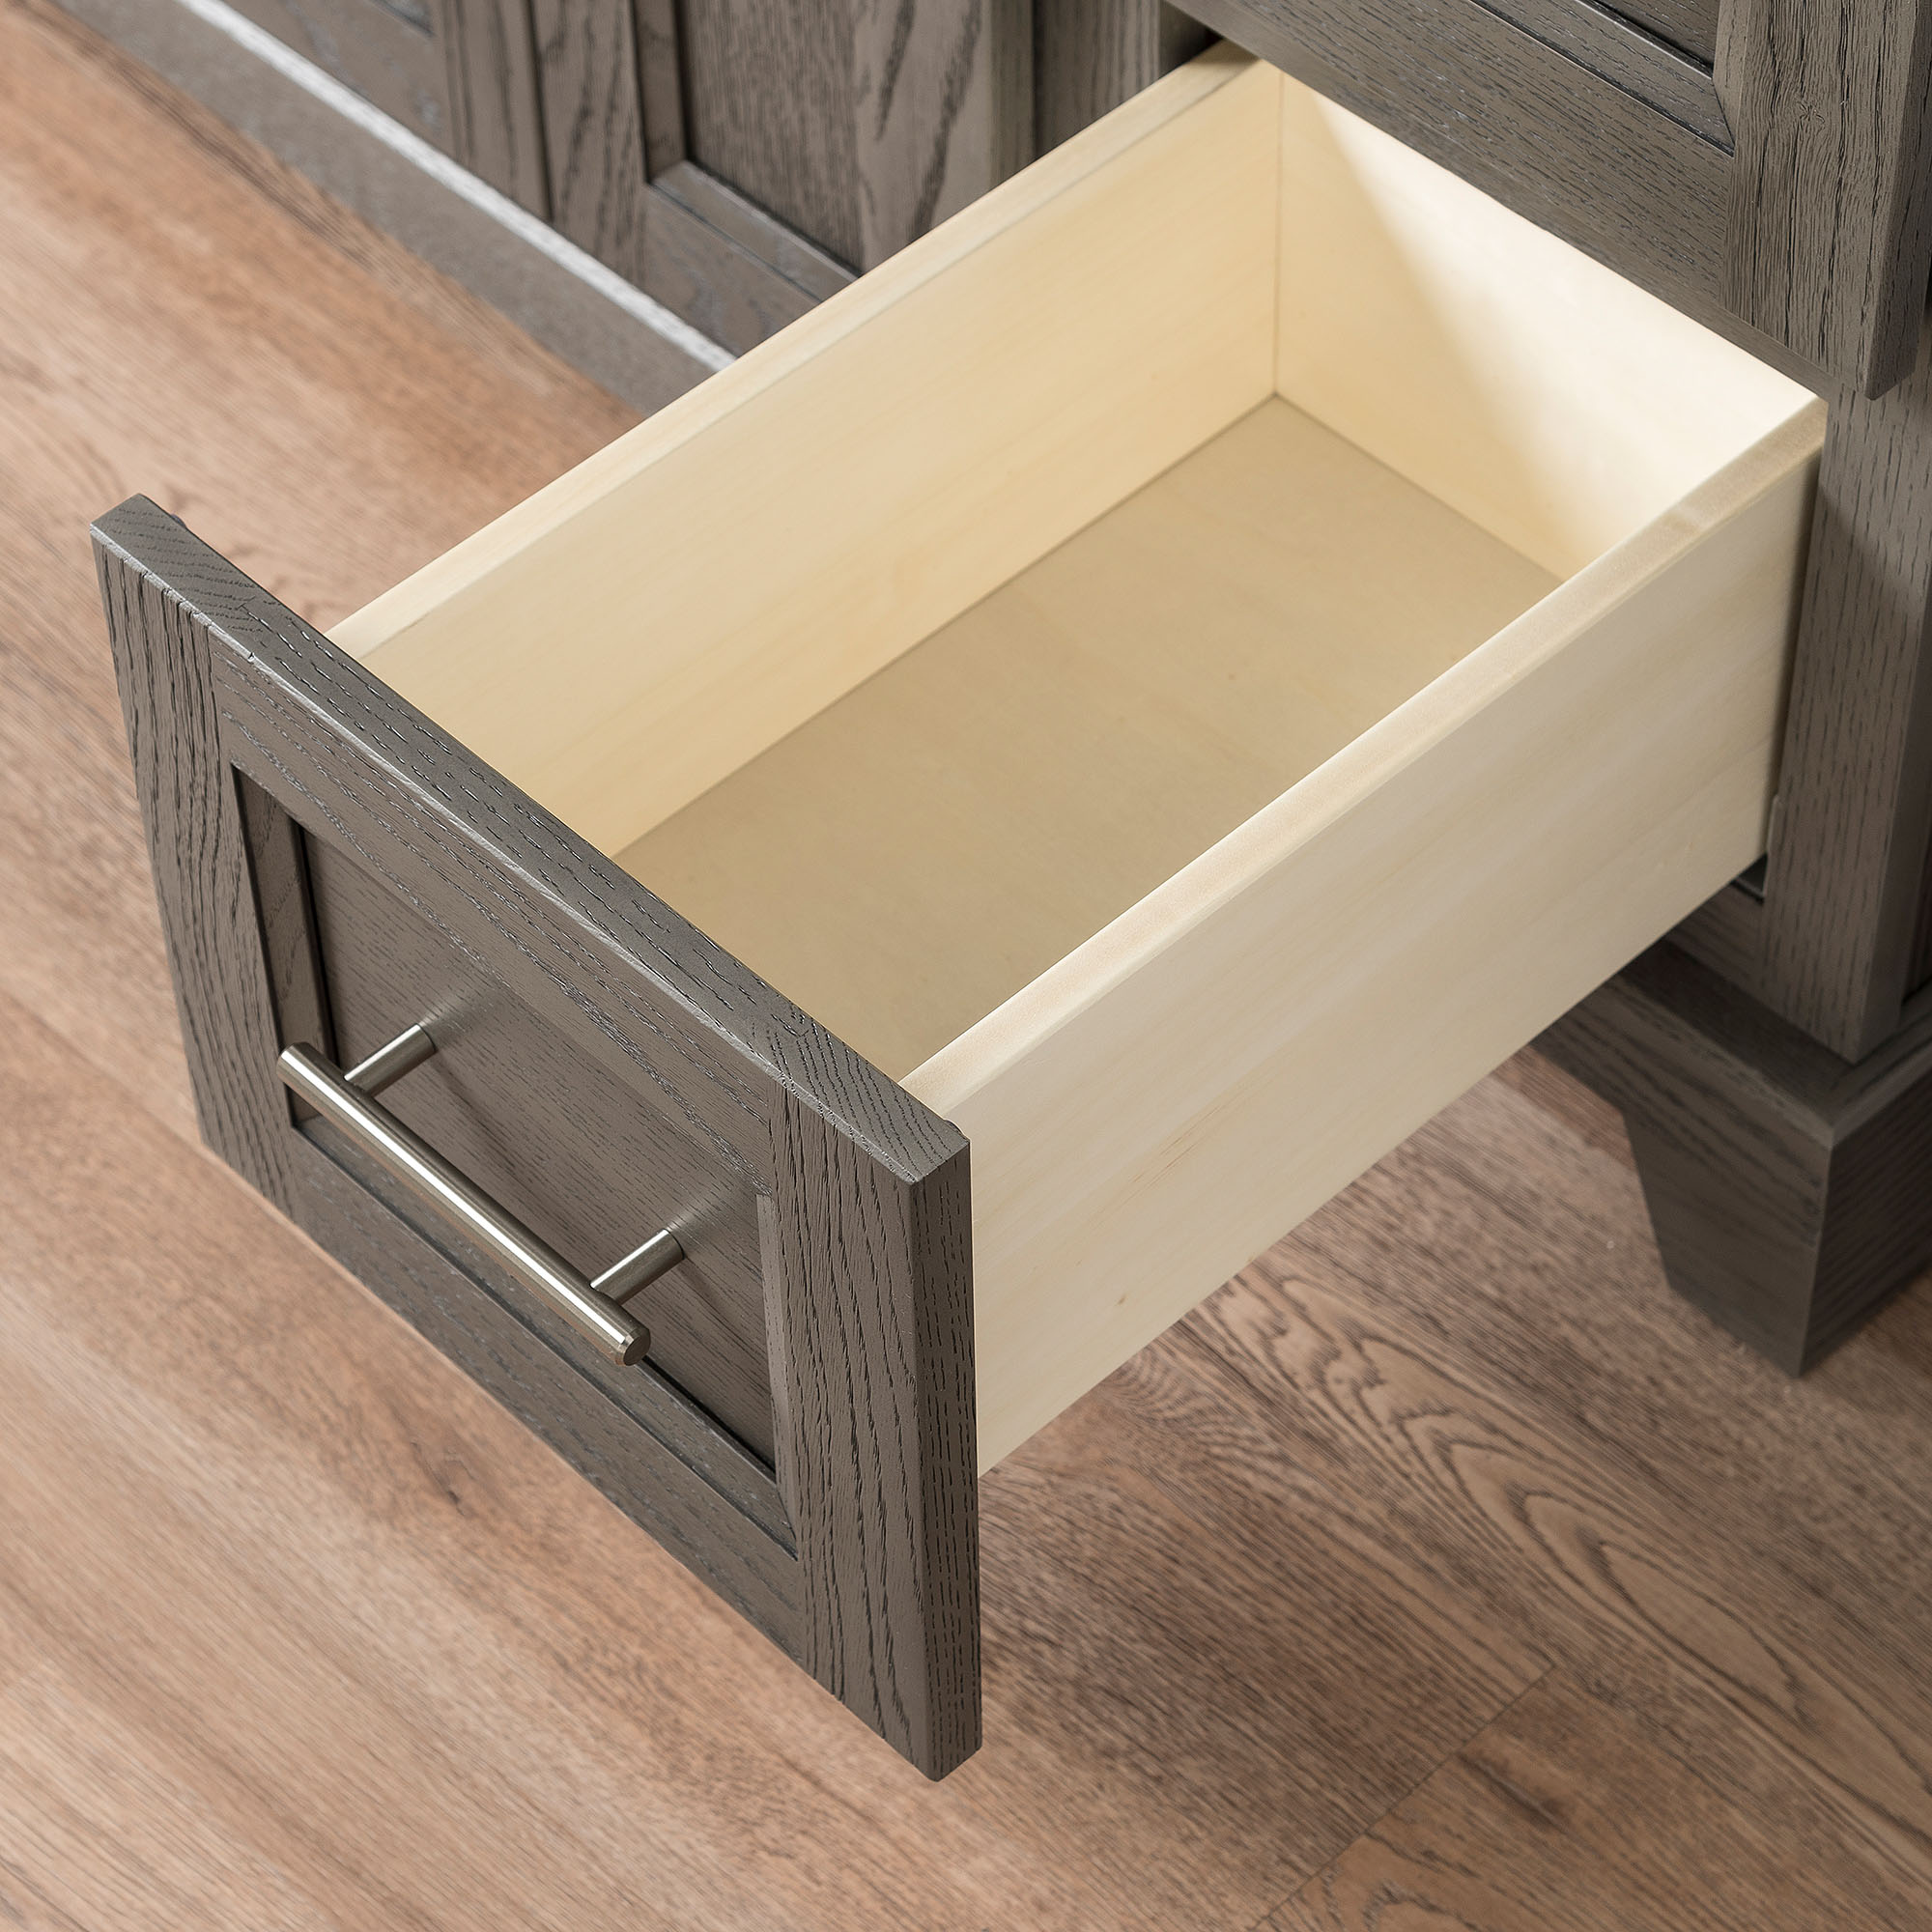
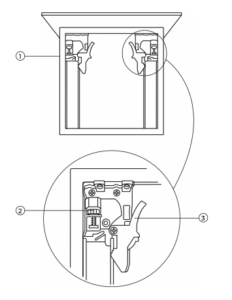
There are 2 slide clips on the underside of each drawer (1) that level the drawer face. There is a dial (2) that can be adjusted to raise or lower each side of the drawer. It is recommended to adjust both in unison or multiple drawers at the same time to get the best result.
DRAWER REMOVAL
Pull the drawer out fully, then reach underneath the drawer bottom and press in both releases on the clips (3) to remove. To re-install, place the drawer onto the slides, align the tab on the back of the slide to sit in the pre-drilled hole on the drawer back, then click the slides back into the clips.
RAISING THE DRAWER SLIDES
In some cases, there may not be enough adjustment in the dial (2), in which case the drawer slides (4) must be raised. After removing the drawer box you will notice a screw holding the slide to the face frame and a second hole in the slide directly above the screw (5); this is the hole you will use to reinstall the slide. Remove the screw, raise the slide to the desired height and pre-drill a small hole so that you do not crack the face frame when installing the screw.
DRAWER FACE DOES NOT SIT FLUSH SIDE TO SIDE WITH FACE FRAME
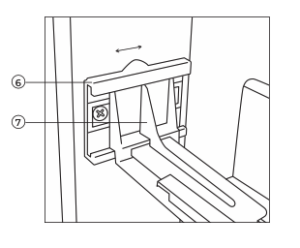
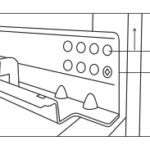
The drawer slides are attached to a gliding plastic bracket (6) mounted to the back frame. The bracket is used to adjust the slides from side to side (7). If there is a gap between the drawer face and the face frame on the left side, push both brackets to the right. If there is a gap on the right side, push both brackets to the left. Once the drawer face sits flush it should not need adjusting again as the slides will be balanced.
