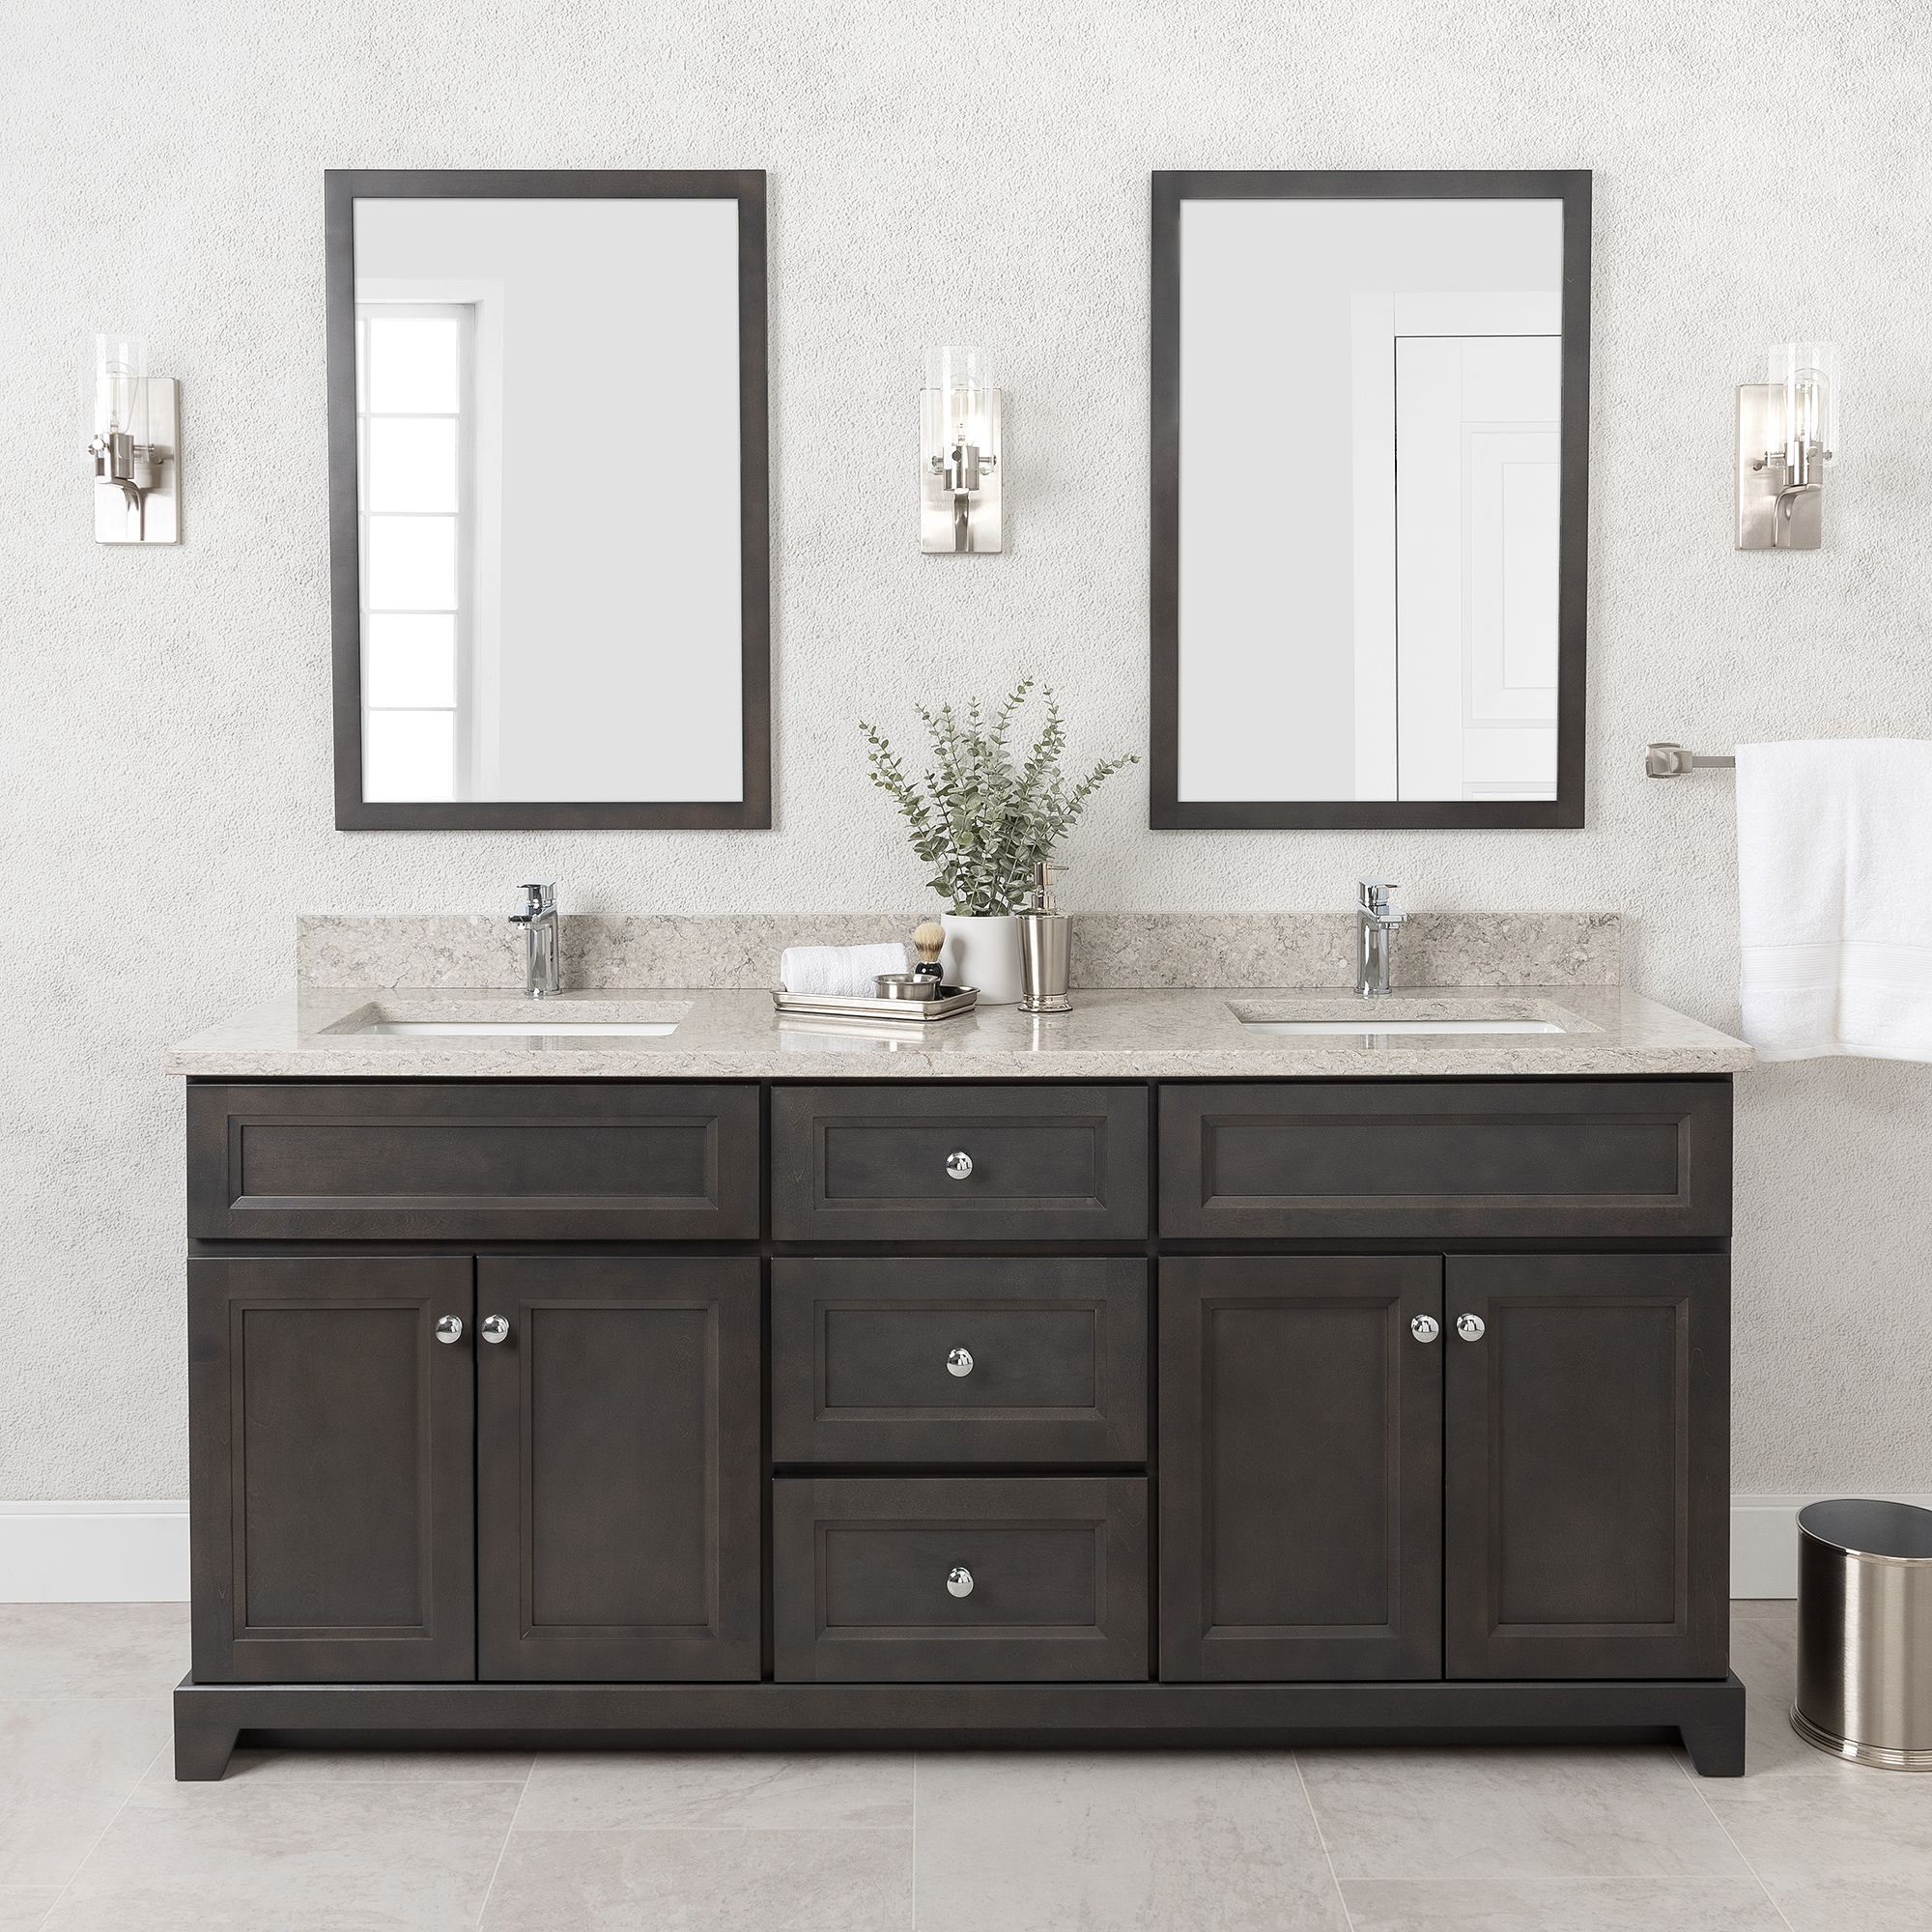
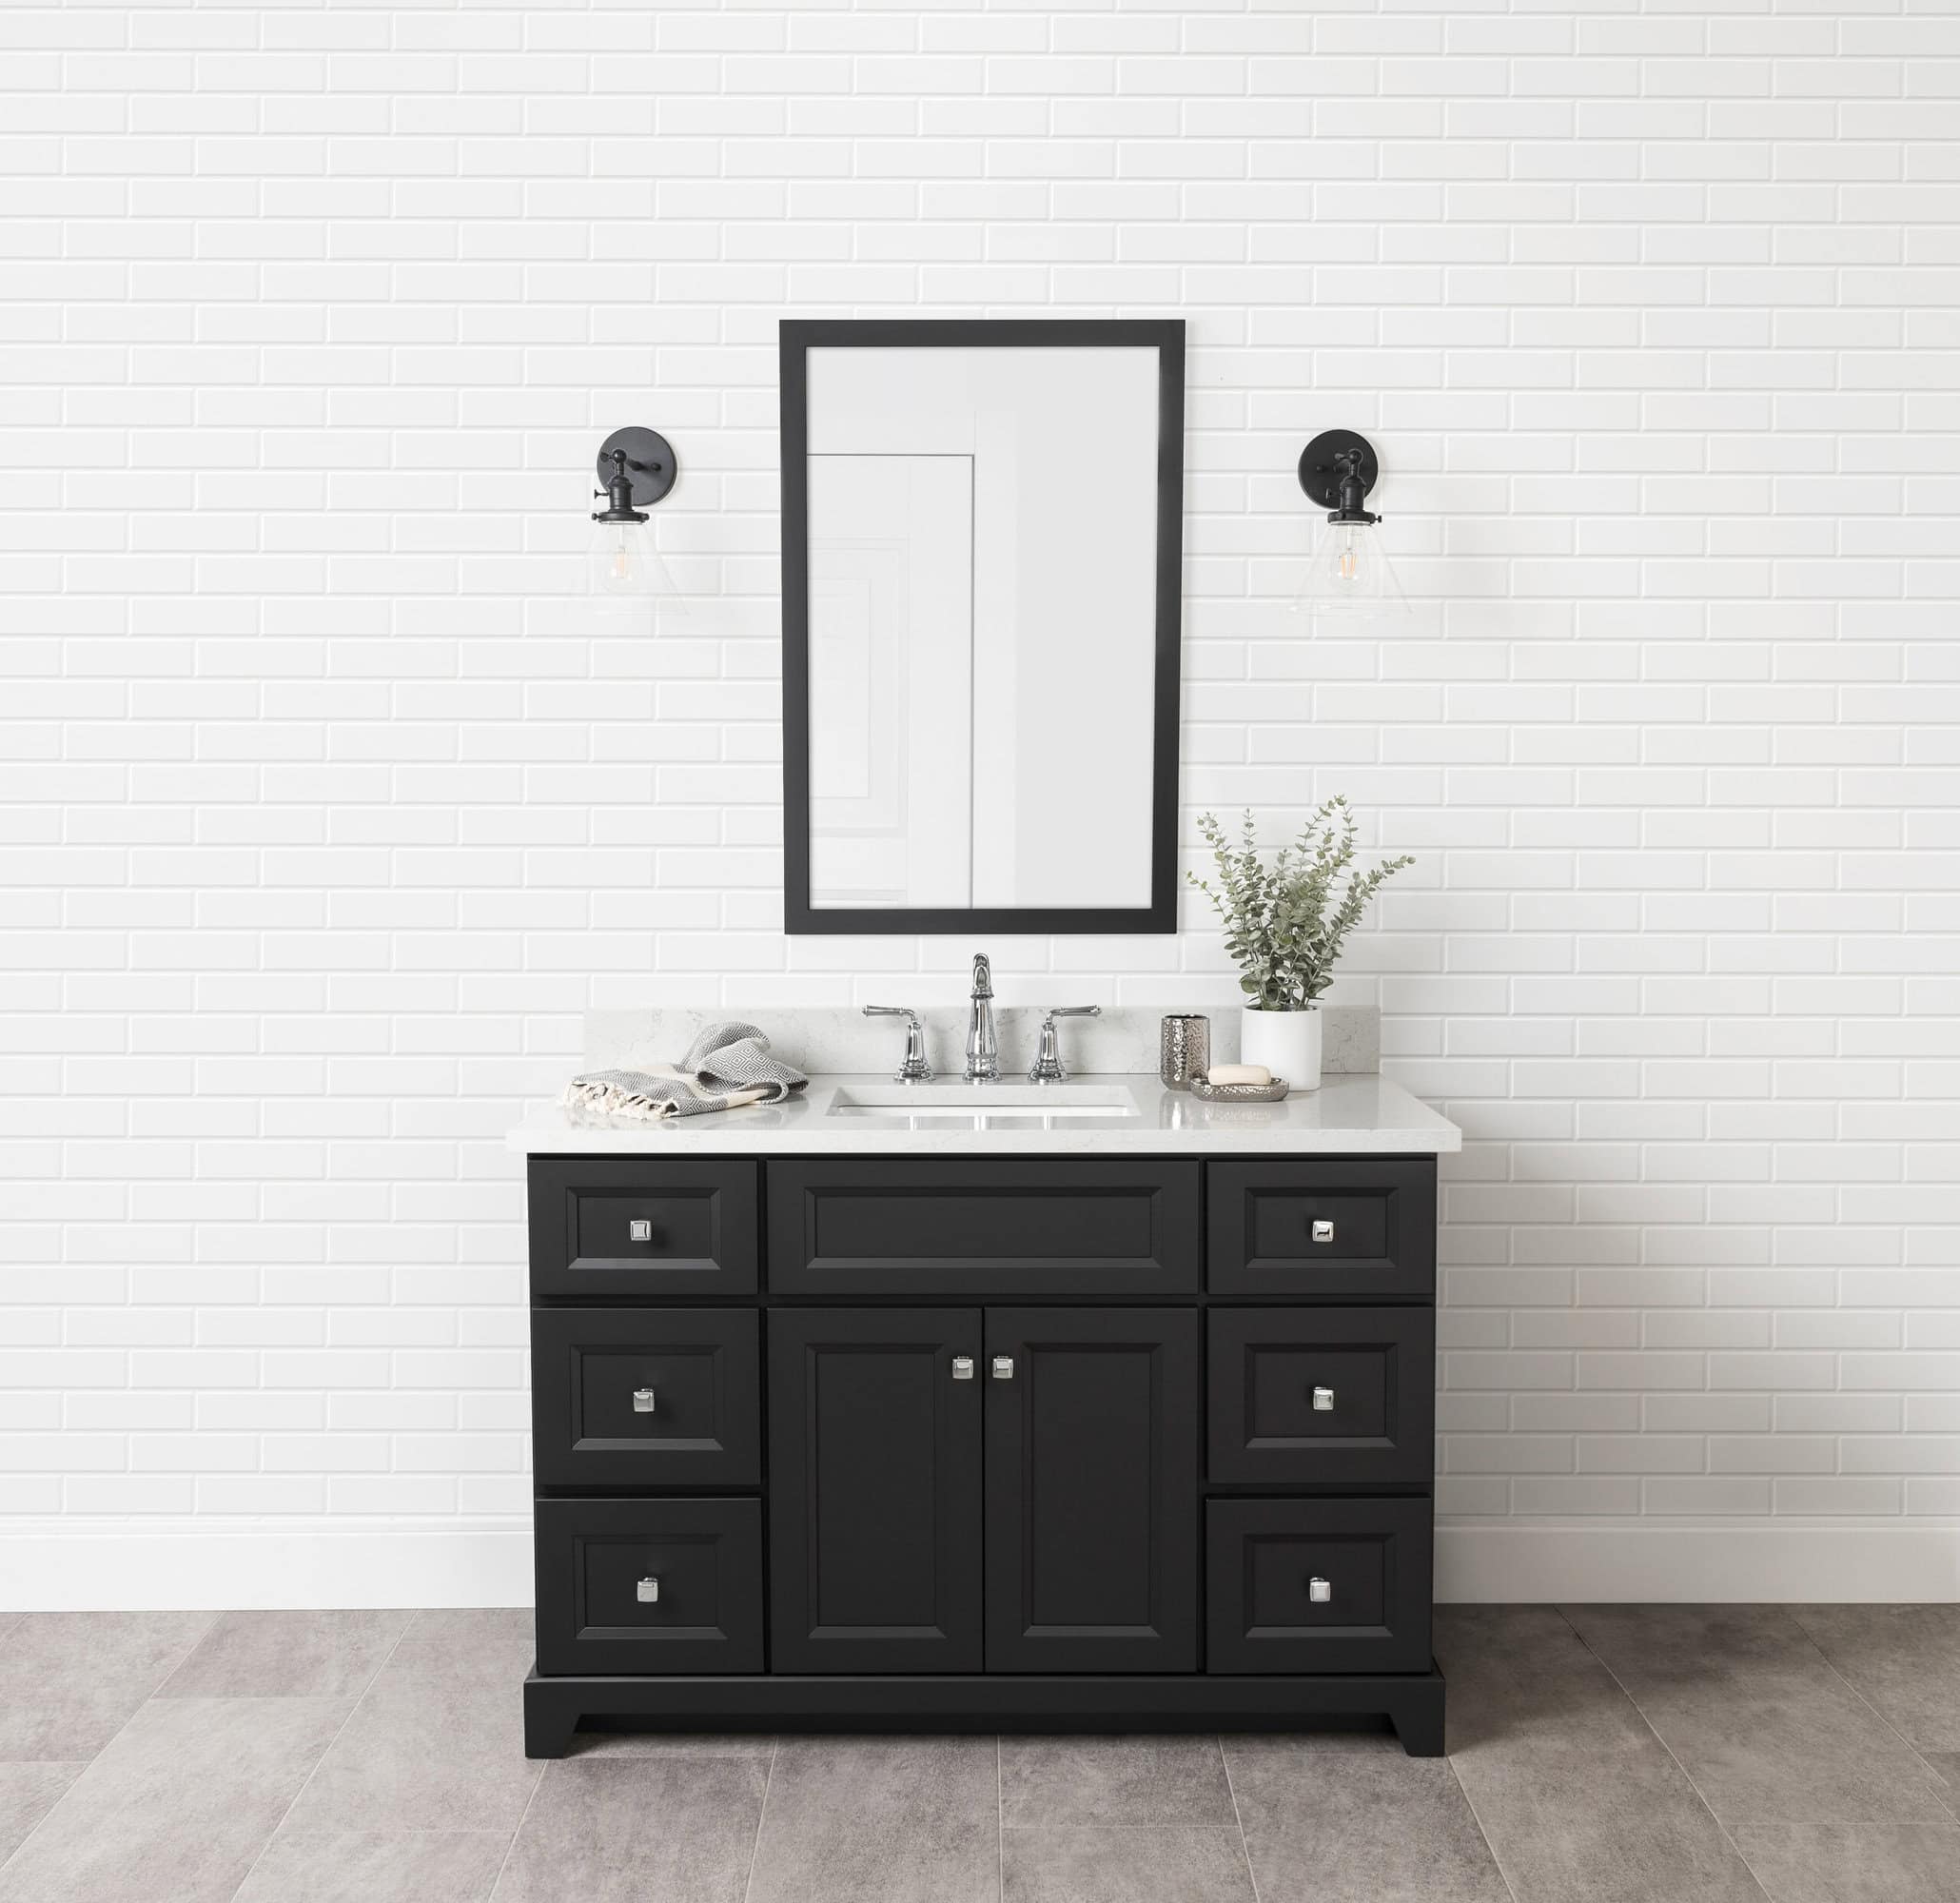
Once you receive your Rock Solid vanity, we want you to enjoy it! A support leg is included in all 60″ and 72″ vanities to prevent sagging under the weight of the vanity top.
Use the Allen key provided to adjust the support leg during installation. Use the white cap provided to cover the support leg once adjustment is complete.
ACCESS PRE-INSTALLED SUPPORT LEG
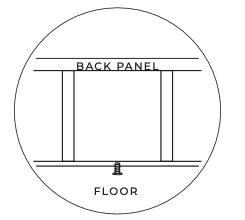
The support leg (1) is located in the center of the vanity’s bottom panel, a few centimeters from the back edge. Double sink vanities need to have drawers removed in order to access the support leg. See the Cabinetry Adjustment Instructions for information on how to remove the drawers.
LOWER SUPPORT LEG TO TOUCH FLOOR
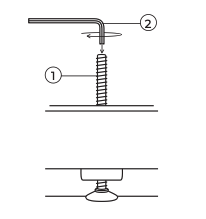
Insert the short end of the Allen key into the top of the support leg and rotate clockwise (2) to lower the leg to the floor. Turn until resistance can be felt.
CHECK VANITY TOP IS LEVEL
Place the vanity back splash on the vanity top to determine if the support leg needs to be adjusted further.
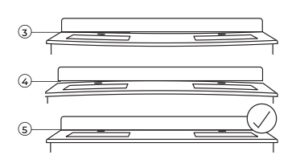
If the backsplash has a large gap or appears raised in the middle, but flush with the vanity top on its ends, the support leg has been under-adjusted (3). Rotate the Allen key clockwise until the backsplash is flush across the entire vanity top.
If the backsplash is flush with the vanity top in the middle but has large gaps or appears raised on its ends, the support leg has been over-adjusted (4). Rotate the Allen key counter-clockwise until the backsplash is flush across the entire vanity top.
With the support leg properly adjusted, your backsplash will be flush with the vanity top (5) Note: The support leg may require additional adjustment as the vanity settles under the weight of the vanity top. Keep the Allen key for future use.
CONCEAL THE SUPPORT LEG
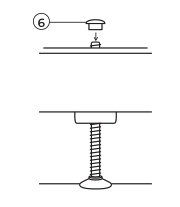
Place the white cap (provided) over the hole (6) with the flat side facing up, then press the white cap into the hole.
