
Learning how to level cabinets for quartz countertops requires finding the floor’s high point and using shims to create a perfectly flat surface before securing the unit.
Proper cabinet leveling is the unsung hero of a successful installation, and this guide will walk DIYers and contractors through the critical steps to prevent cracking and ensure a professional finish.
Essential Tools and Preparation for Quartz Installation
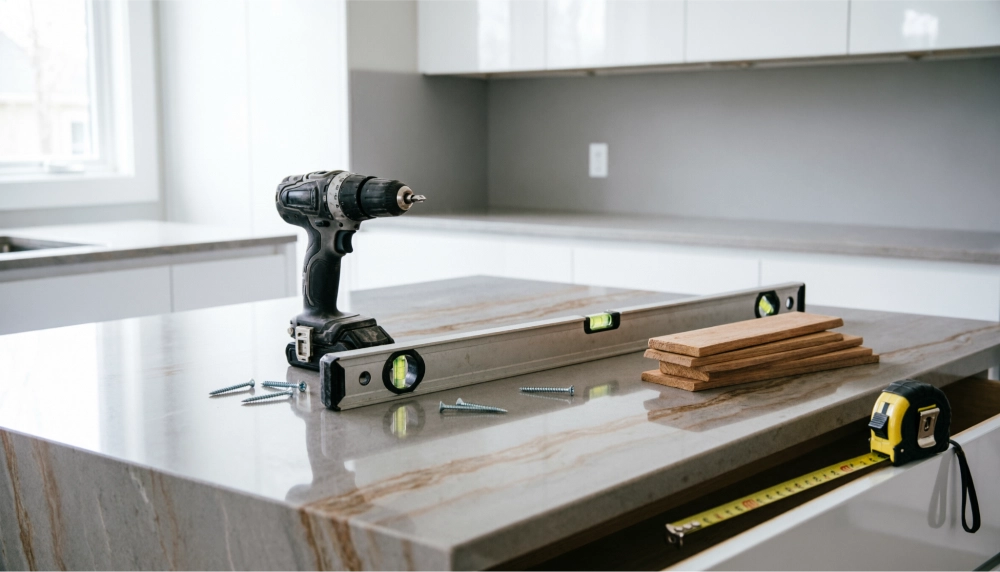
Gathering the right tools and preparing the site are the foundational steps when learning how to level cabinets for quartz countertops, ensuring the installation process proceeds without costly interruptions.
Before you begin the physical work, ensure you have the following items readily available:
- 4-foot level: Essential for accuracy across the full width of the vanity; a smaller torpedo level may not bridge dips in the cabinet frame.
- Carpenter’s shims: Wood or plastic shims are necessary to fill gaps between the cabinet and the floor.
- Power drill/driver: For securely fastening the cabinet to the wall studs.
- Screws: Ensure you have adequate length screws for anchoring the vanity securely into wall studs.
- Tape measure: Critical for verifying placement relative to plumbing rough-ins.
- Pencil: For marking adjustments and stud locations on the wall and cabinet.
Site preparation is equally important as tool selection.
- Start by ensuring the floor is clean and completely dry, as debris can interfere with the cabinet’s stability.
- Next, check the wall for plumb, or vertical straightness. In older homes, walls often bow or lean, which complicates the installation.
- Before positioning the cabinet, double-check the placement relative to the plumbing rough-ins to avoid conflicts with drain pipes or supply lines.
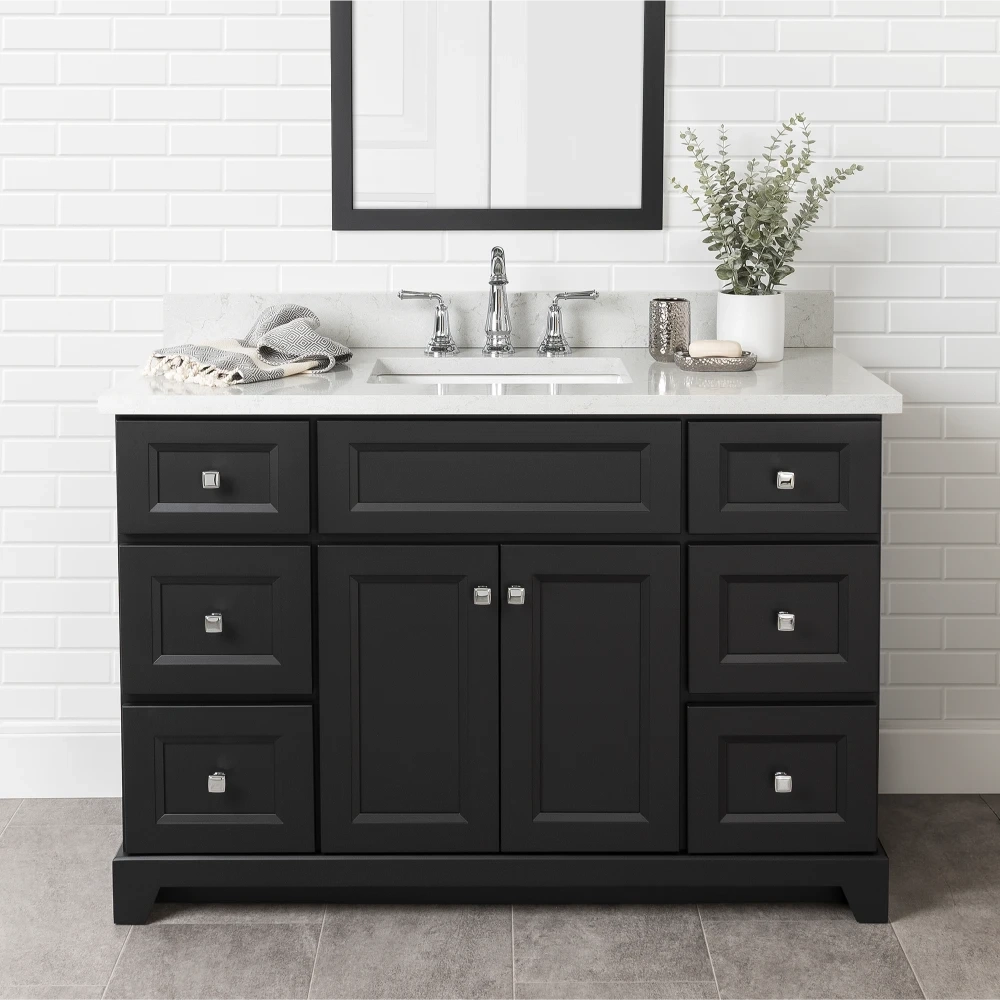
At Rock Solid Vanities, we understand that the quality of the cabinet significantly impacts the leveling process. Our vanities are constructed with high-quality materials, such as CARB Phase 2 compliant plywood, which holds screws well and resists warping. This structural integrity makes the leveling process smoother and more reliable compared to cheaper, flimsy cabinets that might flex or crumble under the pressure of shimming and stone weight.
Step-by-Step Guide: How to Level Cabinets for Quartz Countertops
Executing a step-by-step approach is critical when determining how to level cabinets for quartz countertops, as precise shimming and securing prevent future structural issues like cracking or detaching. Patience and precision during this phase are the best ways to protect your investment in high-end materials.
Step 1: Positioning
Begin by sliding the vanity into its designated location. At this stage, do not secure it to the wall. You need the freedom to adjust the unit slightly to find the optimal placement. Ensure the cabinet is roughly centered relative to the plumbing and the surrounding walls.
Step 2: Finding the High Point
Place your 4-foot level on the top of the cabinet frame to determine the highest corner of the floor. This high point becomes your reference point for the rest of the installation.
You cannot lower the floor, so you must bring the rest of the cabinet up to match this height. This step is vital for ensuring the quartz countertop sits flat without “rocking.”
Step 3: Shimming Techniques
Once you identify the low spots, begin placing shims under the cabinet corners.
- Placement: Position shims under the cabinet corners and every 6-12 inches along the span to prevent the cabinet from sagging in the middle.
- Technique: Gently tap the shims with a hammer until the bubble on your level is perfectly centered. Check level both front-to-back and side-to-side.
- Caution: Avoid lifting the cabinet too high, as this can disconnect it from the wall or create a large gap that is difficult to cover with a backsplash later.
Step 4: Securing the Cabinet
Once the cabinet is level in all directions, locate the wall studs using a stud finder. Drive screws through the back rail of the vanity (the nailer strip) into the studs to lock the unit in place.
It is crucial to re-check the level after screwing, as the force of driving the screws can sometimes shift the unit slightly, throwing it off-level.
Step 5: Trimming Shims
After the cabinet is securely fastened and verified level, use a utility knife to score the excess shim material where it protrudes past the cabinet face. Snap off the excess. This ensures the shims are invisible once trim or toe kick material is applied, leaving you with a clean, professional aesthetic.
Our RSV vanities are designed with precision joinery, meaning that once shims are trimmed, the cabinet face remains flush and ready for finishing touches.
Common Mistakes to Avoid During Installation
Recognizing potential pitfalls is essential when mastering how to level cabinets for quartz countertops, as avoiding these errors protects the structural integrity of your vanity.
- Ignoring the “Scribe” Gap: Failing to trim the cabinet to match a wavy wall leaves gaps; scribing ensures full contact and proper support.
- Over-Shimming: Placing shims too far inside creates instability; keep them near the front face to prevent a “teeter-totter” effect.
- Skipping the Diagonal Check: Always measure corner-to-corner; a parallelogram-shaped cabinet makes fitting the quartz top difficult.
- The Wall Lean: Ensure the cabinet is plumb vertically, not just level horizontally, to avoid putting undue stress on the stone.
- Rushing the Process: Taking time now prevents costly cracks later; patience is the key to a Rock Solid finish.
If you are unsure about any step of this process, we encourage you to use our Dealer Locator tool to find a certified Rock Solid Vanities showroom near you. Scheduling a consultation with an authorized installer is the best way to ensure your project is truly “Rock Solid.”
FAQs
We often receive inquiries regarding how to level cabinets for quartz countertops, so we have compiled the most common questions below.
1. How much height can I add to cabinets using shims?
You can typically add up to 1/2 inch using shims without compromising stability. However, if you need to raise the cabinet significantly more, consider using a built-up base or a toe kick platform rather than stacking shims, which can become unstable.
2. Do I need to secure the vanity to the wall?
Yes, securing the vanity to the wall studs is mandatory for safety and stability. This prevents the heavy cabinet and countertop from tipping forward or shifting during use. Rock Solid Vanities cabinets feature sturdy back rails specifically designed for this purpose.
3. What if my floor is sloped significantly?
If the floor slope is severe, you may need to scribe the bottom of the cabinet to match the floor angle before shimming the remaining low spots. This ensures the cabinet sits fully on the floor while maintaining a level top edge for the countertop.
4. Can weather affect the leveling process?
Yes, extreme humidity or temperature changes can cause wood to expand or contract, slightly altering the cabinet’s shape. Allow your Rock Solid Vanities cabinet to acclimate to the room for 24 hours before final leveling to ensure stability.
5. Is it necessary to level the cabinet if I am using a silicone pad?
Silicone pads or underlayment can help with minor vibrations, but cannot compensate for a significant slope or uneven floor. The rigid cabinet base must still be mechanically leveled to prevent the stone from cracking under pressure.